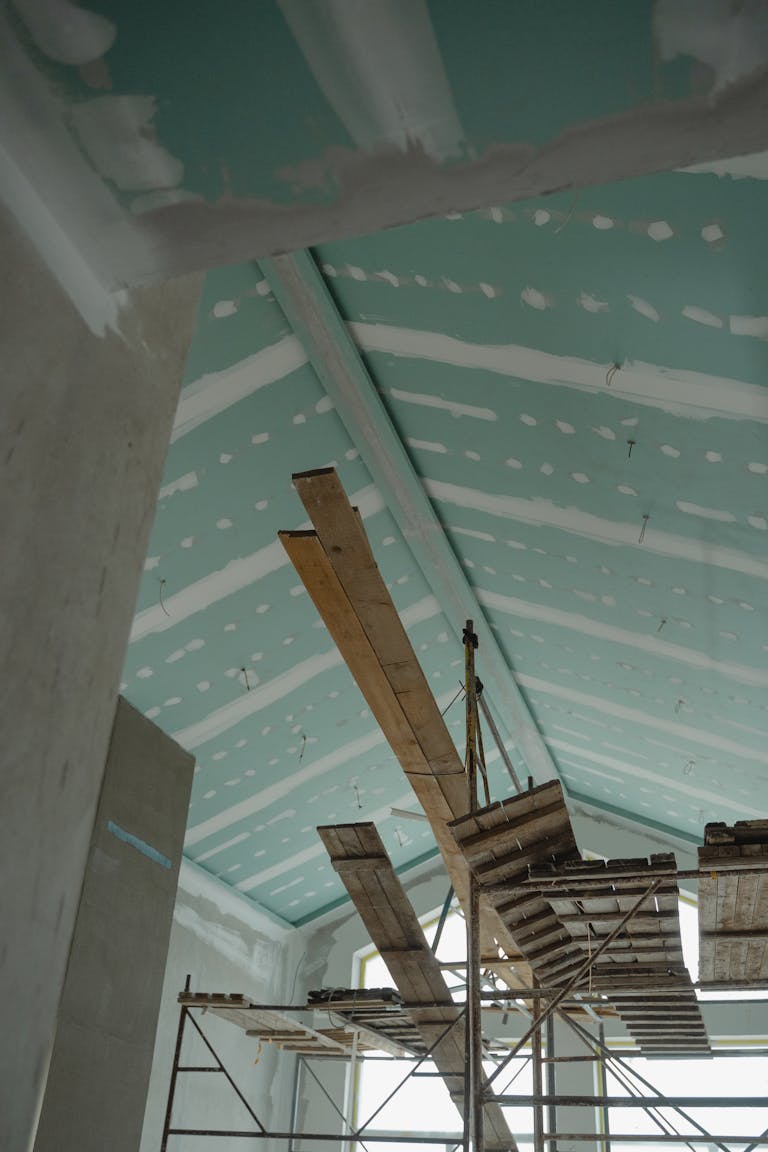
Renovating your home can be an exciting yet daunting task, especially when it involves multiple construction steps like drywall installation and painting.
As a homeowner in Burien, understanding the proper sequence of these tasks can save you time, money, and frustration.
Salvador from R-I Painting, a trusted contractor in the area, shares insights into why the order matters and the best practices to follow.
Why the Sequence Matters
The order in which you complete drywall and painting tasks significantly affects the final outcome. Doing these steps out of order can lead to inefficiencies, higher costs, and subpar finishes. By understanding the correct sequence, you ensure a smooth workflow and a professional result.
Step 1: Drywall Installation and Repairs
Before any painting begins, your drywall must be in perfect condition. Here’s why this step is crucial:
- Foundation for Paint: A smooth, even drywall surface is essential for a flawless paint job. Any imperfections can ruin the final look.
- Durability: Properly installed and finished drywall ensures a long-lasting foundation for paint, preventing issues like cracking or peeling later on.
What This Involves:
- Installing new drywall panels or repairing existing ones.
- Taping seams and applying joint compound.
- Sanding the surface to create a smooth finish.
- Cleaning up dust and debris to prepare for the next steps.
Step 2: Priming the Drywall
Once the drywall is installed and prepped, the next step is applying primer. Salvador emphasizes that primer is not optional—it’s a critical step that:
- Seals the Surface: Primer creates a uniform base, ensuring the paint adheres properly.
- Enhances Paint Color: It allows the true paint color to shine and reduces the number of coats needed.
Step 3: Painting the Ceiling
Start by painting the ceiling before moving on to walls or trims. This approach minimizes the risk of accidental splatters on freshly painted surfaces.
Tips for Success:
- Use high-quality ceiling paint for better coverage.
- Paint in even strokes, working in sections to avoid streaks or missed spots.
Step 4: Wall Painting
With the ceiling complete, it’s time to focus on the walls. Salvador’s team at R-I Painting recommends using rollers for large areas and brushes for edges and corners.
Why Walls Come Before Trim:
- It’s easier to clean up accidental splatters on unpainted trim than on finished walls.
- Painting walls first ensures a cleaner and more professional result when trimming is added later.
Step 5: Trim and Final Touches
The final step is painting the trim and baseboards. This step requires precision and attention to detail to achieve a polished look.
Tips for Trim Painting:
- Use painter’s tape to protect walls and floors.
- Choose a durable, semi-gloss paint that’s easy to clean.
Frequently Asked Questions
Can Painting Be Done Before Drywall Installation?
No, painting before drywall installation is not advisable. The drywall process generates dust and debris that can ruin freshly painted surfaces.
What If I’m Only Repairing a Small Drywall Section?
If you’re making minor repairs, complete the patching, sanding, and priming before touching up the paint.
How Long Should I Wait Between Steps?
Allow adequate drying time for primer and each coat of paint. Typically, primer dries within a few hours, but always follow the manufacturer’s recommendations.
Why Choose R-I Painting for Your Burien Home?
Salvador and his team at R-I Painting specialize in delivering high-quality drywall and painting services tailored to Burien homeowners. Their expertise ensures each step is executed in the correct order for stunning, durable results.
Ready to transform your space? Contact R-I Painting today to schedule your consultation and experience the difference of working with seasoned professionals.
